


Price: $17.99 - $12.99
(as of Apr 28, 2024 21:42:26 UTC – Details)

Get crafty with super fun sewing projects for kids ages 6 to 9!
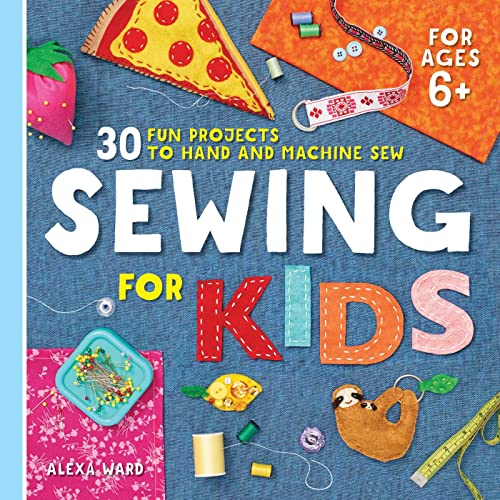
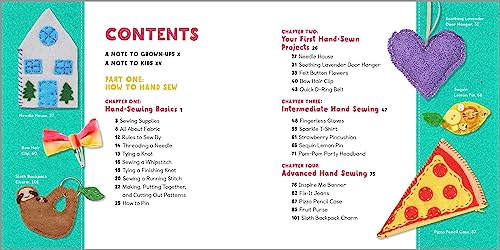
From an adorable Needle House to an awesome Pizza Pencil Case, there are so many things that can be sewn with just a needle and thread. Packed with beginner techniques for both hand sewing and machine sewing, Sewing for Kids takes you stitch-by-stitch from threading a needle to making your own Fingerless Gloves.
Get started with the ins and outs of hand sewing, like how to tie a knot or sew a whipstitch, and before you know it, you’ll be sewing on a sewing machine! Wow your friends with your own hand-sewn Fruit Purse—then, take your sewing up a notch with machine projects like a Winter Beanie and Shark Tail Blanket.
Sewing for beginners—Start stitching with easy-to-understand techniques, safety rules, basic stitches to build on, and tips for filling your sewing kit.
Something for everyone—These fun and funky hand-sewing and machine-sewing projects increase in difficulty so you can get comfortable sewing and then practice your skills.
So much to choose from—Have a blast sewing handmade goods, like a Sloth Backpack Charm, a Tic-Tac-Toe Pillow, and a Beanbag Chair—and customize your crafts with tips to make them your own.
With this sewing book for kids, you’ll have tons of fun and learn an impressive skill you’ll use for the rest of your life.
From the Publisher


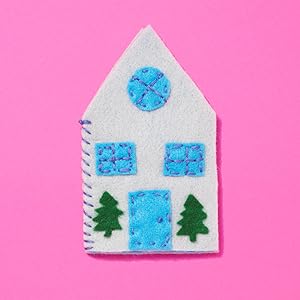
One of many cool projects from the book: Needle House
This project is a great way to keep sewing needles organized, and what’s a cuter shape than a house? You can have different houses for different kinds of needles, or you can add more “rooms” (extra pieces of felt) to your house and use different rooms for different types of needles.
Directions
1. CUT THE PATTERN AND FABRIC. Print and cut out the Needle House pattern. Pin the pattern to two layers of felt. (When pinning for cutting, make sure the pins are inside the pattern piece, or you might cut a pin and damage your scissors. See page 25 for more details.) Use the fabric scissors to carefully cut out a house from both pieces of felt.
2. SEW THE LEFT SIDE TOGETHER. Take the two pieces of felt and place them together. Pin the left sides together. (When pinning for sewing, pin with the pinheads sticking out of the fabric.) Thread the needle and knot. Using a whipstitch, sew the left side to create the “wall.” Once you get to the end, tie a finishing knot (see page 18). Every time you start and stop sewing there should be a knot.
3. ADD YOUR NEEDLES. You now have a home to store all your needles.
Tools & Materials Pattern for Needle House Pencil Scissors Pins Fabric Scissors Embroidery needle and thread 9 × 12–inch felt
Publisher : Rockridge Press; Illustrated edition (December 24, 2019)
Language : English
Paperback : 250 pages
ISBN-10 : 1641526645
ISBN-13 : 978-1641526647
Reading age : 6 – 10 years, from customers
Lexile measure : 870L
Grade level : 2 – 3
Item Weight : 1.25 pounds
Dimensions : 8 x 0.8 x 8 inches